
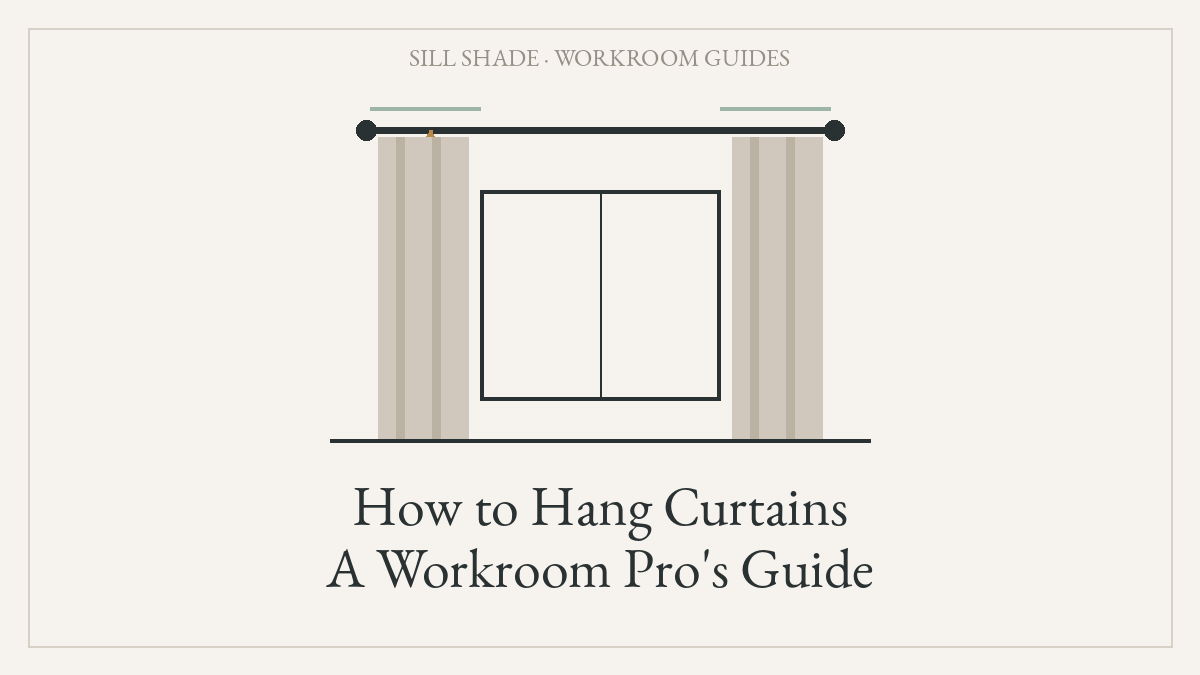
By the Sill Shade workroom team — we’ve hung more curtains than we can count over 60+ years, and these are the rules we never break.
Hanging curtains well comes down to three numbers: mount the rod 4–6 inches above the window frame (or halfway to the ceiling), extend it 6–12 inches past the frame on each side, and use panels totaling 2 to 2.5 times the rod’s width. Follow those three and almost any curtain looks custom. This guide walks through the full process — placement, hardware, and the hanging method for every header type — plus the tricks we use on plaster, concrete, and rental walls.
Step 1: Get the Rod Placement Right
How high to hang the rod
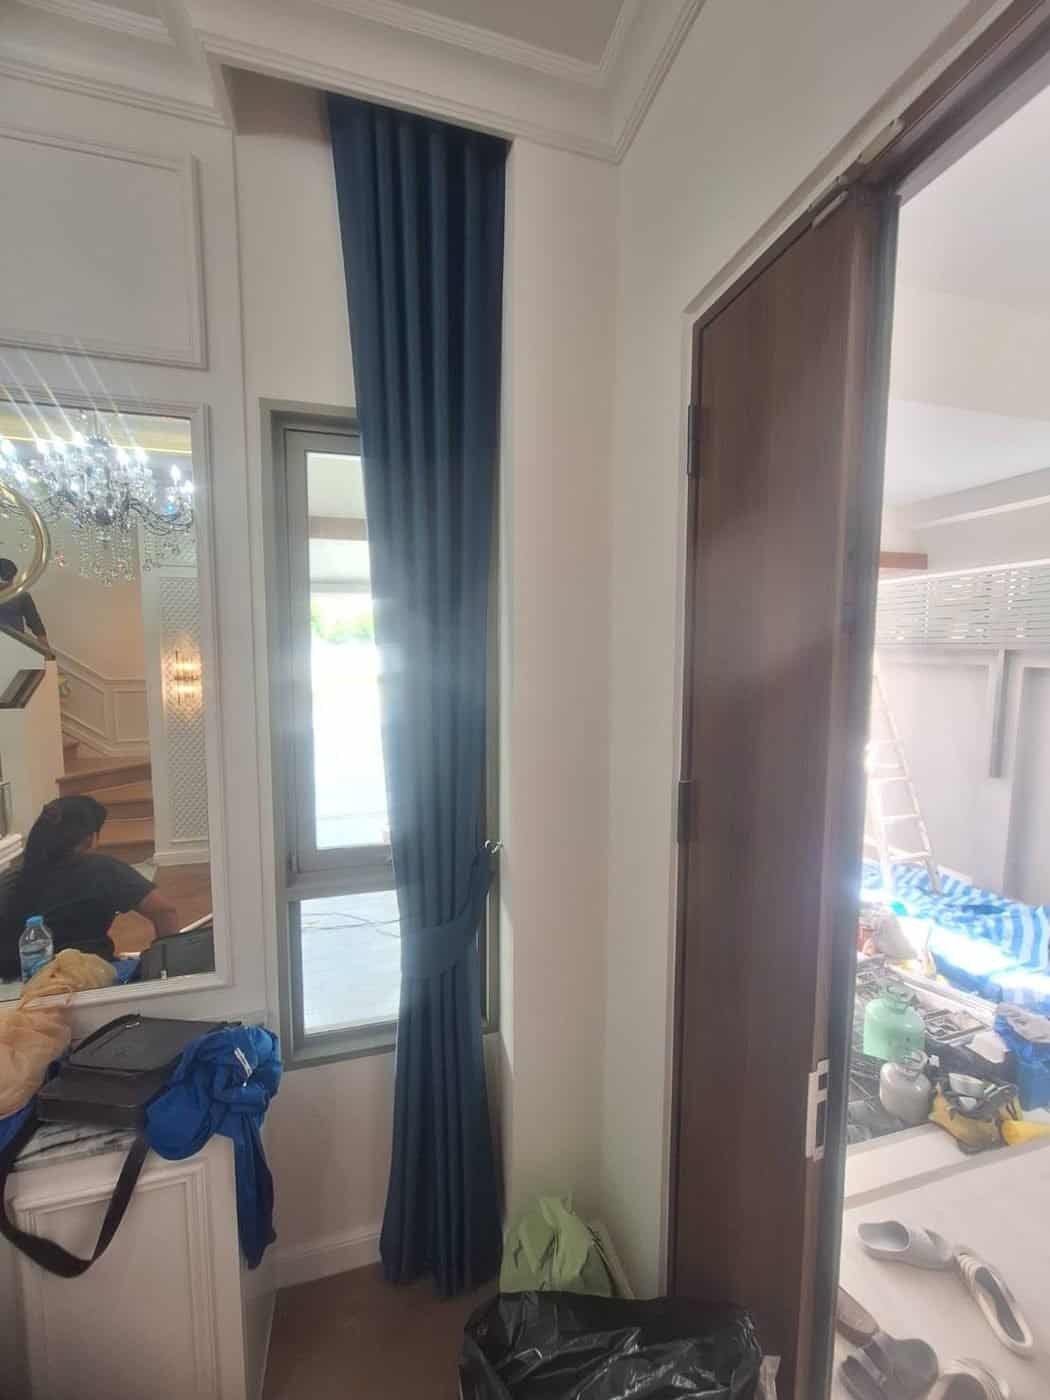
Mount the bracket 4–6 inches above the top of the window frame. If the gap between frame and ceiling is small, go halfway. If you have crown molding, keep the rod about 2 inches below it. Hanging at frame height — the way most builders’ installs do it — visually chops the wall and makes both the window and ceiling feel lower.
How wide to set the rod
Extend the rod 6–12 inches past the frame on each side. When curtains are open, the fabric stacks against the wall instead of covering glass: the room gets more light and the window reads bigger. For narrow walls, even 4 inches per side helps. Bay windows follow their own rules — see our bay window guide.
How long the curtains should be
From the top of the rod, panels should reach the floor — floating no more than half an inch above it, kissing it, or slightly puddling. If you haven’t bought panels yet, our curtain length guide has the full size chart, and our measuring guide shows exactly how to get the numbers.
Step 2: Choose Hardware That Can Hold the Weight
The number-one hardware failure we see: a heavy blackout pair on a skinny rod with two plastic anchors. The rod bows within a month and the anchors pull free within a year. When in doubt, size up the rod and add a center bracket.
Step 3: Install the Brackets
- Mark the bracket height with a pencil: rod height minus the bracket’s drop. Use a level, not your eye — window frames are rarely level themselves.
- Mark the width: equal distance past the frame on both sides.
- Drill pilot holes. Hit a stud if you can; if not, use the anchor rated for your fabric weight (toggle bolts hold ~50 lbs in drywall, plastic plugs far less).
- Windows wider than 60 inches get a center support bracket — no exceptions if the fabric is lined.
Renting, or can’t drill? There are six solid workarounds — tension rods, Command hooks, ceiling-track adhesives and more — covered in our guide to hanging curtains without drilling.
Step 4: Hang the Panels (by Header Type)
Each header attaches to the rod differently. If you are still deciding, our guide to the types of curtains compares all seven side by side.
Rod pocket
Feed the rod through the sewn pocket and scrunch the fabric evenly. Best for stationary panels — the fabric drags when you open and close daily.
Grommet
Thread the rod through the rings, making sure the panel’s back faces the same way at every grommet. Grommet tops glide the easiest of all headers — our default recommendation for curtains you’ll actually open every morning. Note the fabric hangs about an inch below the rod, which matters when you pick length.
Ring clips
Clip every 4–6 inches; fold the top hem back and clip from behind for a cleaner, pleated look that hides the clips. Remember the clip adds 1–2 inches of drop — subtract it when measuring.
Pinch pleat
Insert drapery hooks into the pleat backs and hang each hook on a ring eyelet. Pleated panels need rings sized to the rod and a bit of patience, but nothing looks more tailored.
Tab top and back tab
Tabs wrap over the rod. They show more rod and don’t glide well, so we use them for decorative, rarely-moved panels.
Step 5: The Finishing Touches Pros Never Skip
- “Train” the folds: with the panel hung, form the fabric into even accordion folds, then loosely tie them with ribbon for 2–3 days. The fabric learns to fall in neat columns.
- Steam, don’t iron: shipping creases fall out with a hand steamer while the panel hangs.
- Check the glide: open and close fully once. If rings snag at the center bracket, swap to a bypass-style bracket.
The Order We Actually Work In
Installers do the steps in a different order from most instructions, and the order is the trick. Mark the rod height first, measured up from the floor at both ends of the window — not down from the ceiling and not off the window frame, because neither is reliably level in a real house. Join the marks with a level line. Set bracket positions on that line, 8 to 12 inches past the frame each side. Drill, anchor, mount brackets. Hang the empty rod and give it a firm sideways tug — the pull of drawing a curtain is sideways, and a bracket that survives the tug will survive years. Only then load the panels and dress the pleats. Ten minutes of marking saves the crooked-rod re-drill almost everyone does once.
The Tools That Matter (and the One to Throw Away)
A 4-foot level or a cheap laser line, a stud finder, a drill, and anchors matched to the wall: toggle or heavy-duty plug for drywall, masonry plugs for brick and concrete. The one to discard is the soft plastic anchor taped inside most curtain-rod boxes — it is rated for the rod alone, not the rod plus fabric plus a person pulling on it twice a day. Swapping those anchors out is the single most common small repair we get called in for.
Hanging FAQ
How high should curtains be hung?
4–6 inches above the window frame, or halfway between the frame and ceiling — whichever is higher. Near-ceiling height makes rooms feel taller.
Should curtains touch the floor?
Yes, in living spaces — touching or floating within half an inch. See the full rules in our curtain length guide.
How far should a curtain rod extend past the window?
6–12 inches per side, so open panels clear the glass.
Do I need a center support bracket?
For any rod span over 60 inches with lined fabric, yes. Sheers can stretch that to about 72 inches.
Can I hang curtains without drilling holes?
Yes — tension rods, adhesive hooks, and twist-fit rods all work within their weight limits. Full renter-friendly methods here.
More from the workroom: how to measure curtains · curtain length guide · all curtain guides · drapes